Percolator Camping Coffee
Using a percolator is a popular way to make a delicious cup of coffee while camping. There is nothing better than a bold, hot cup of coffee when you wake up in camp.
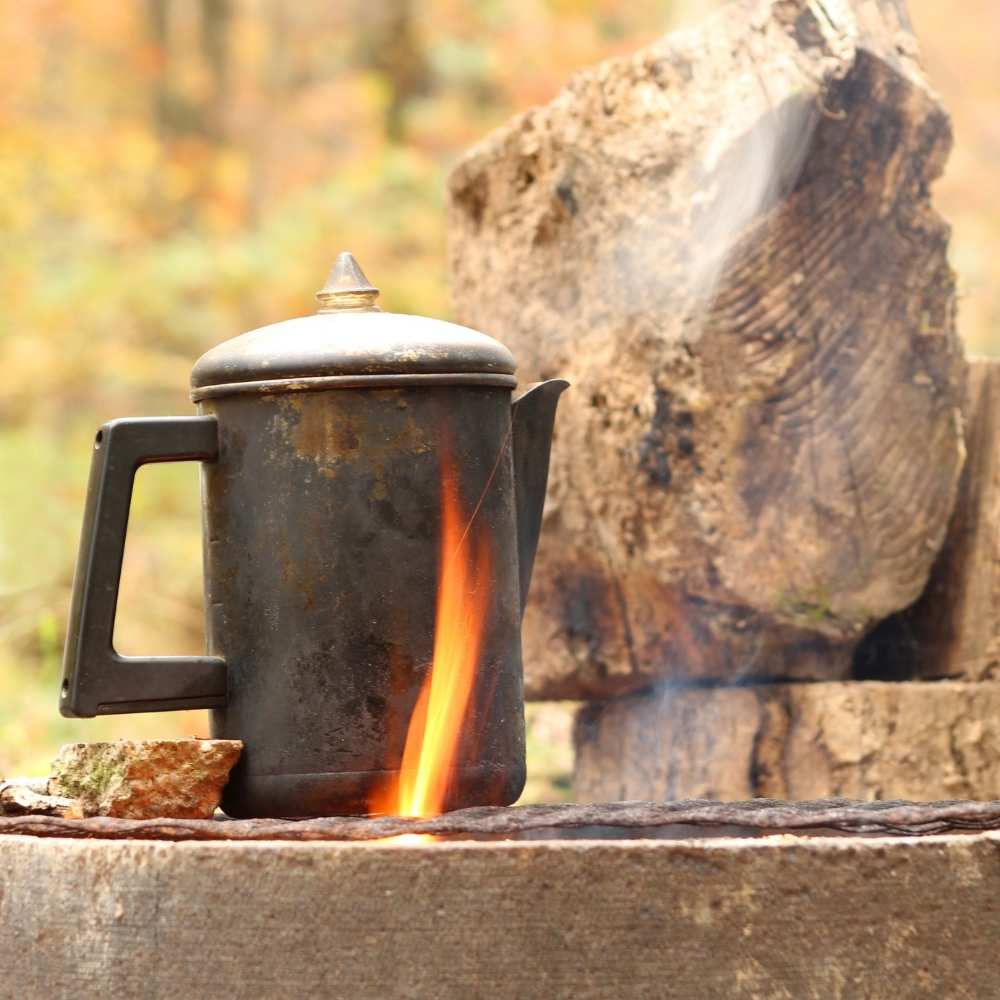
Percolators are a staple in our campfire cooking kit. You can either brew coffee with a percolator using your campfire or a stove while camping.
How Percolators Work
Percolators use a bottom chamber of water that moves upward through the stem when it gets hot enough. The water falls over the coffee grounds repeatedly until it is cooled down. It takes about seven minutes to brew coffee in a percolator once it starts percolating.

What Kind of Coffee do You Need for a Percolator?
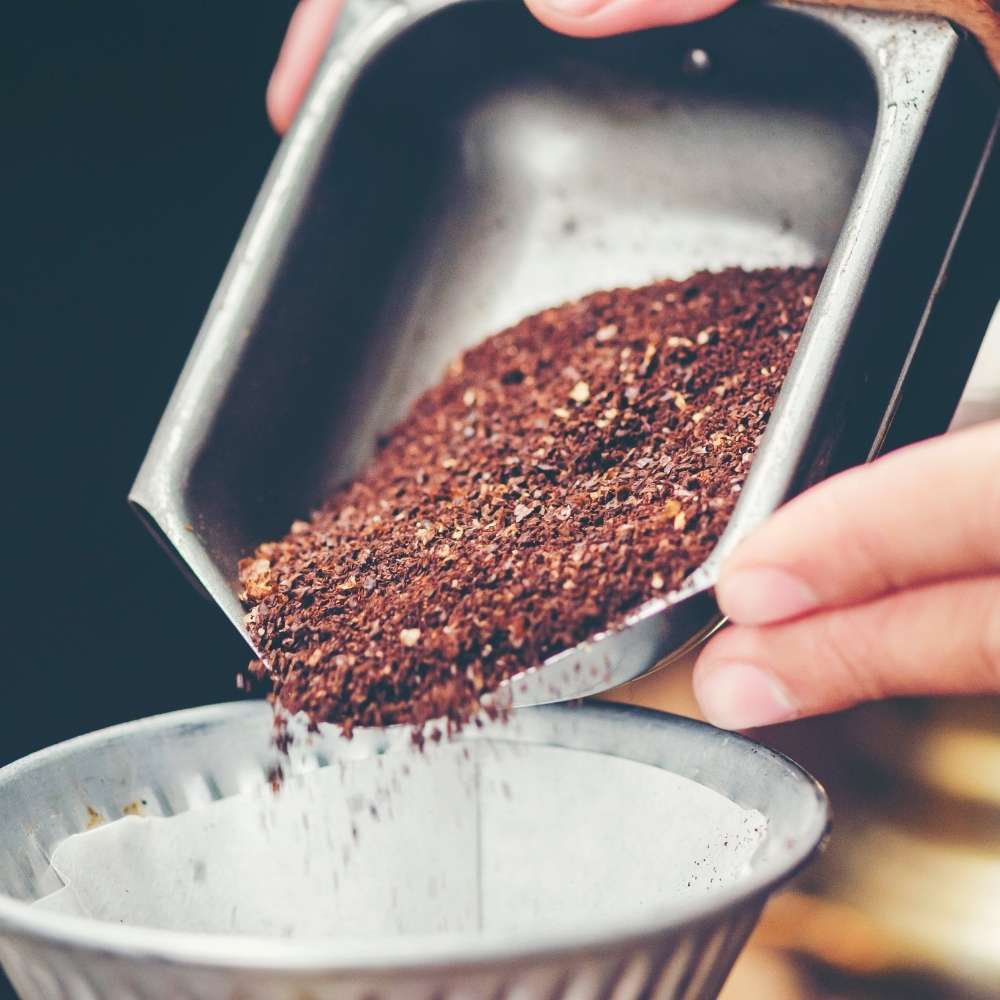
Percolators don’t require any kind of specialty coffee. You can use regular, medium to course coffee grounds.
We just take whatever we have on hand for our drip coffee maker at home to make it easy.
How to Brew Coffee Using a Percolator in Camp
Brewing coffee in a percolator on a camping stove or fire is easy and fairly quick to do.
Here’s what you’ll need:
- Percolator
- Coffee grounds
- Filter (optional)
- Heat source (campfire with grill or coals or a stove)
Here are step-by-step instructions that will help you brew the perfect camping coffee.
1. Choose a heat source
You can either use your campfire or a camp stove to make coffee in your percolator. Having a flat surface is a must so that your coffee doesn’t spill over the sides.
2. Measure water into your percolator
There are guides inside the percolator that tell you how much water to pour for the number of servings you need. These are usually circles or lines on the sidewall that show you where to fill your water to. Pour the amount of water you need into the empty percolator.
3. Pour your coffee grounds into the ground basket
Use the coffee measurements per serving to decide how much coffee to put into the ground basket. Some people use a percolator without using a filter but, we prefer to prevent any small grounds from making their way into our coffee cup. There are specially-made filters or you can poke a hole in one for your regular coffee maker.

4. Assemble the parts
Place the stem, grounds basket, and the spreader/basket cover into the percolator. Close the lid and place the percolator on the stove or on the campfire grill/coals.
5. Bring to a boil
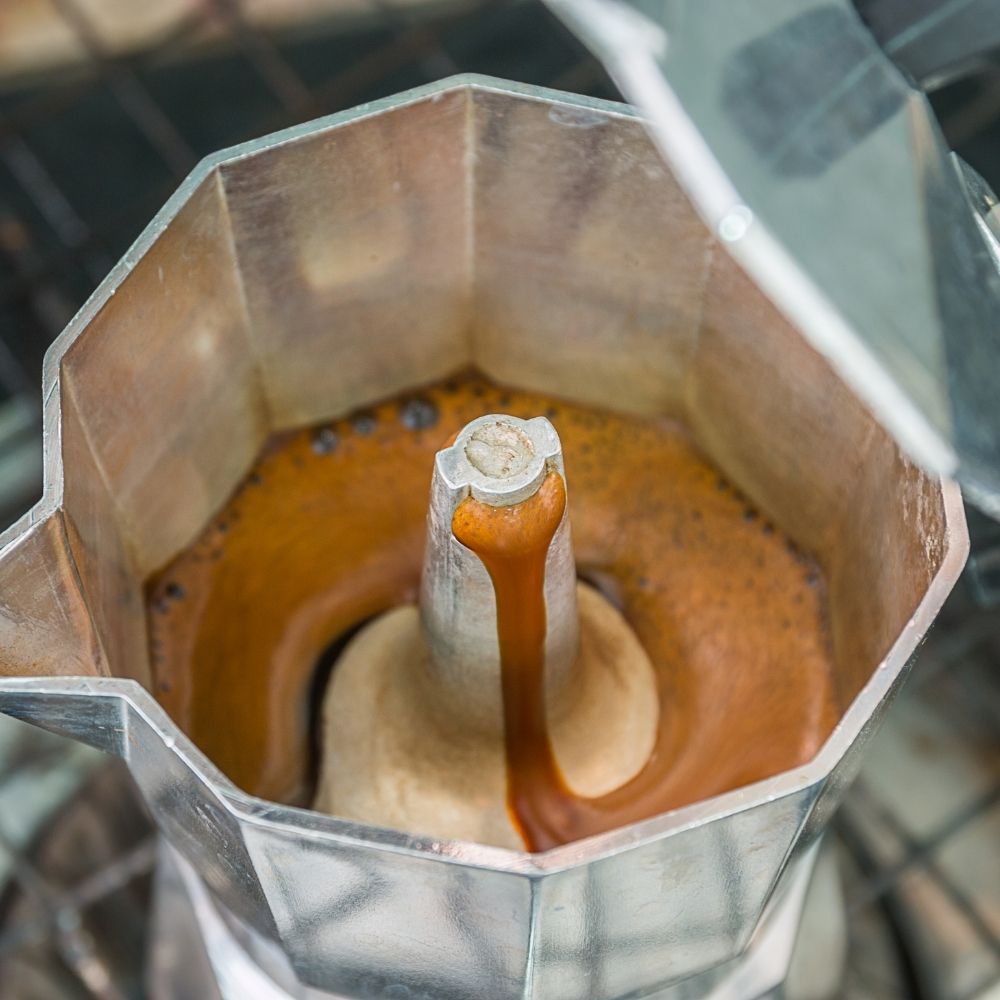
When the water starts to boil, you’ll see that the percolator starts percolating. There is usually a clear knob on top where you can see this. If not, you can lift the lid and take a look. When it’s working, you’ll see water start to come up through the stem.

6. Let the coffee brew
Reduce the heat slightly so that your coffee doesn’t develop a burned taste. You can either turn down your stove or, if using a campfire, move your percolator farther away. Brew the coffee for about 7 minutes or until it reaches your desired brew strength. You’ll see the color get darker and darker the longer it brews.
7. Serve and enjoy
You’ll want to take extra caution pouring and serving the coffee. It’s really hot! We use a mit or hot pad to protect our hands when handling our percolator.
Camping Percolators
We hope you enjoy your percolator coffee as much as we do. There have been several percolators that we’ve used but we are currently enjoying this one by Coleman.
If you forget your percolator at home, you might notice you feel tired after camping. There’s no need to skip your morning coffee though!
Let us know what your favorite way to make camping coffee is in the comments below.

Leave a Reply